
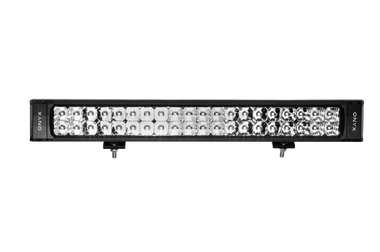


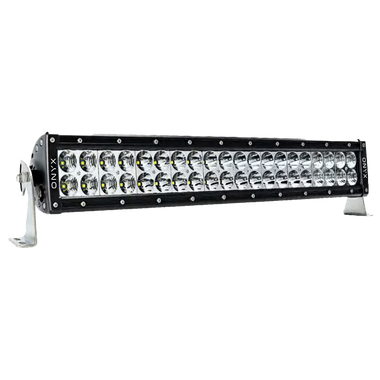
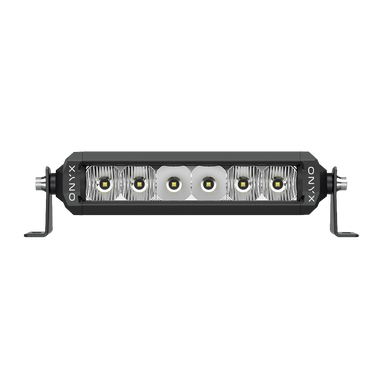
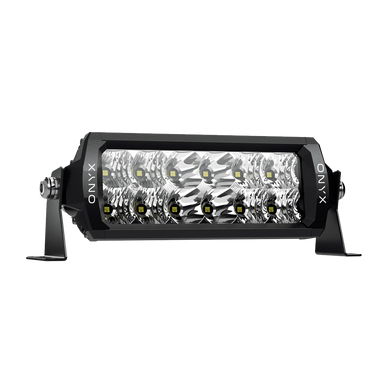
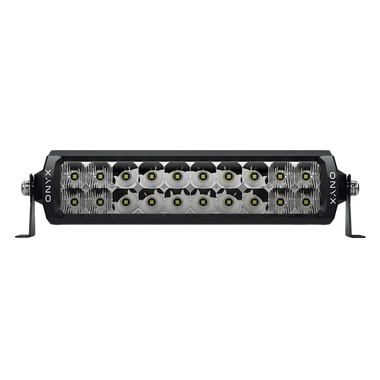
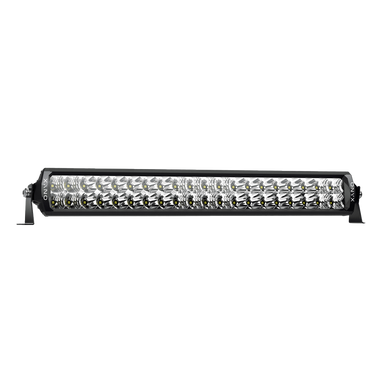
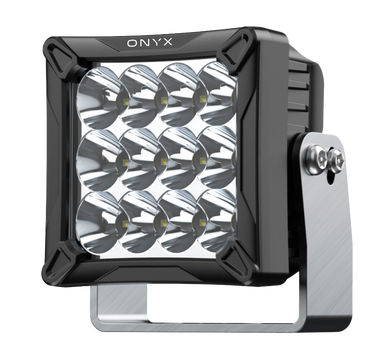
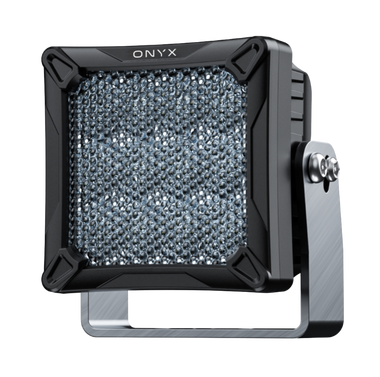
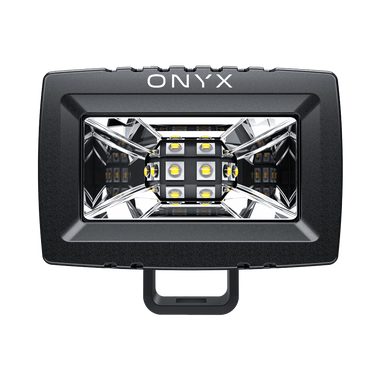
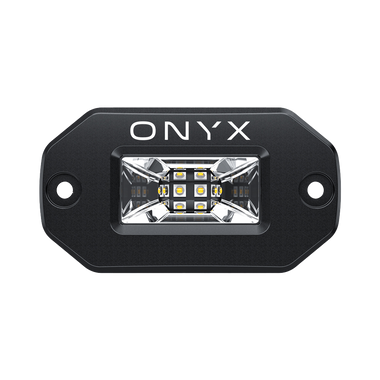
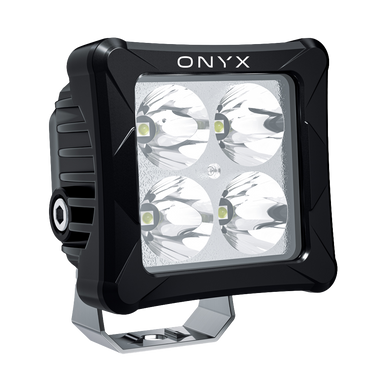
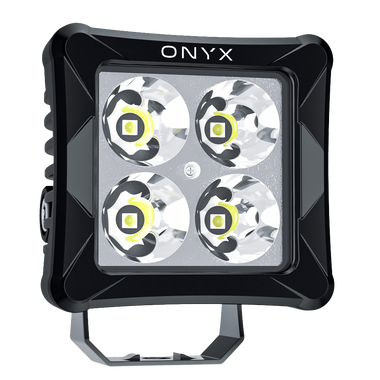
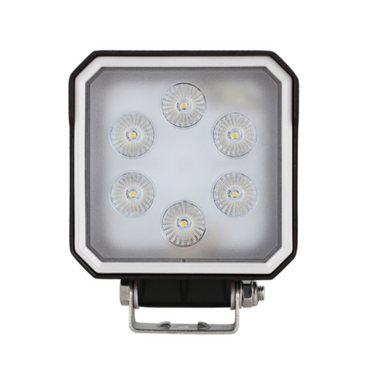
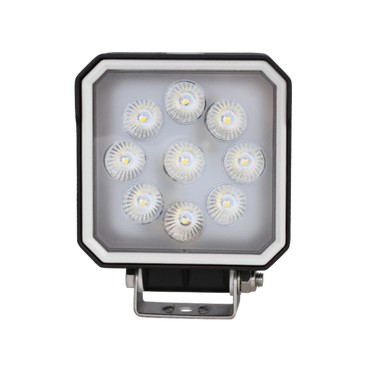
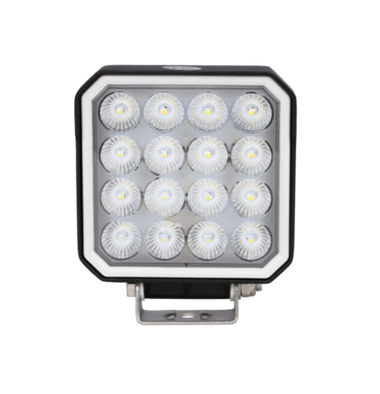
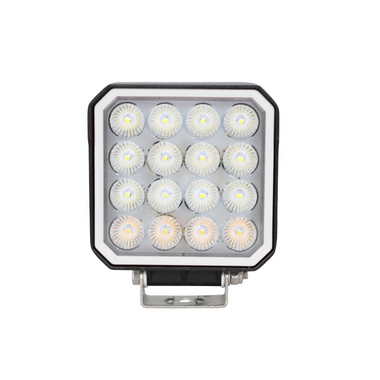
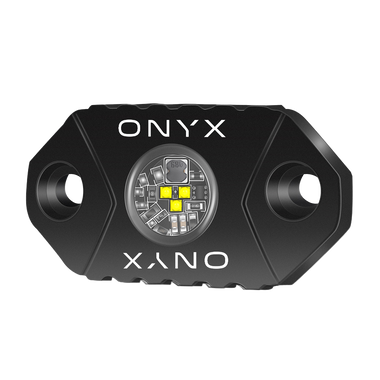















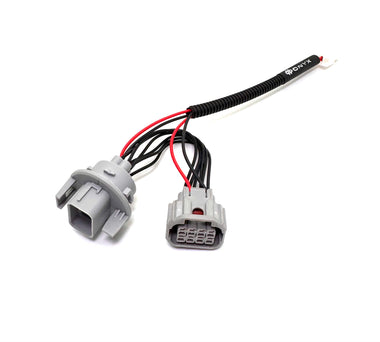
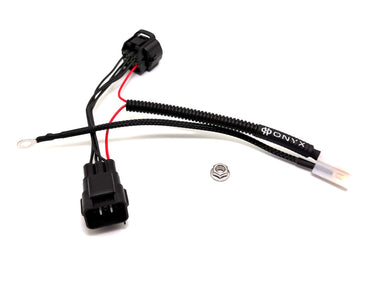
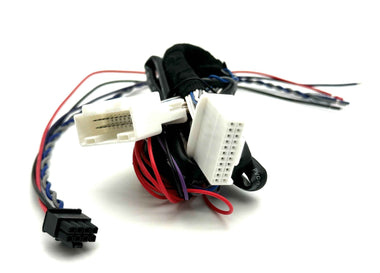
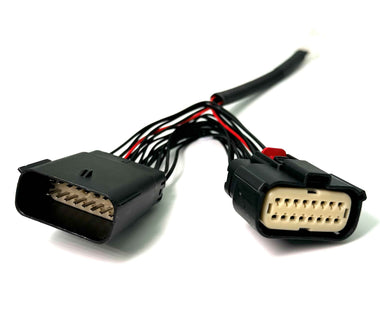
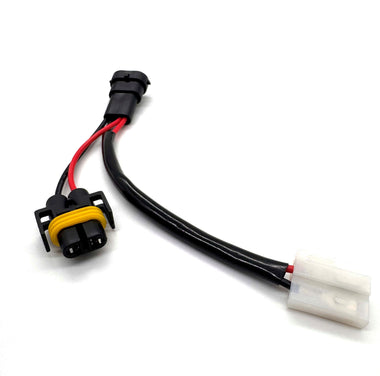
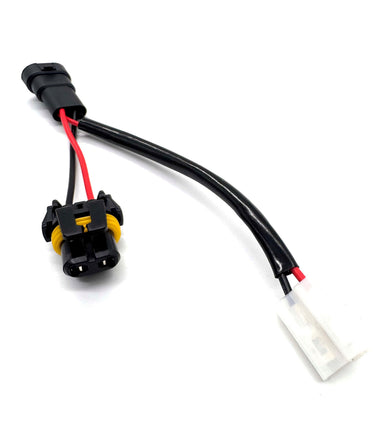
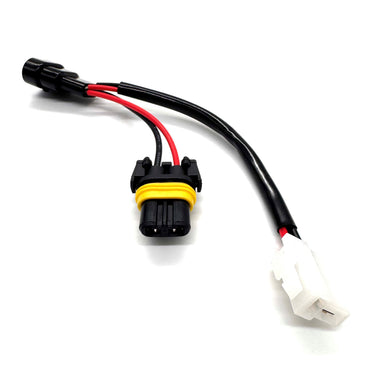
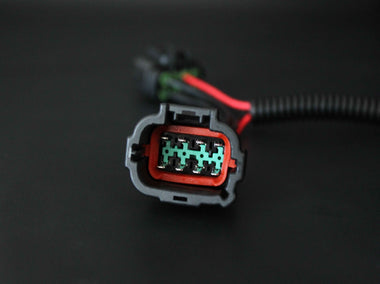
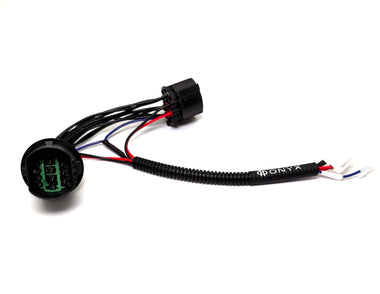
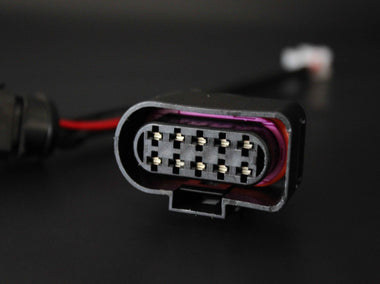
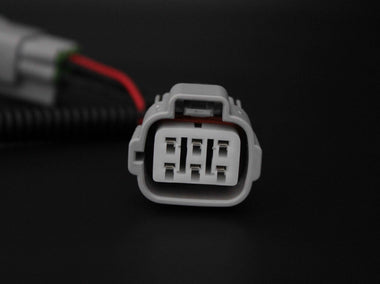
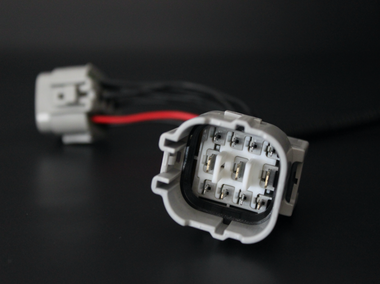
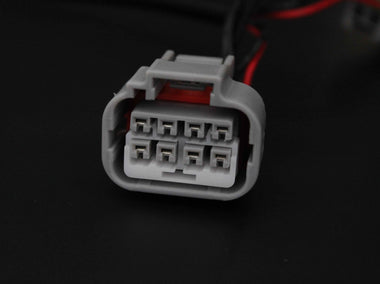



Install guide: PB-P150 Toyota Prado 150 Series (MY18 on)
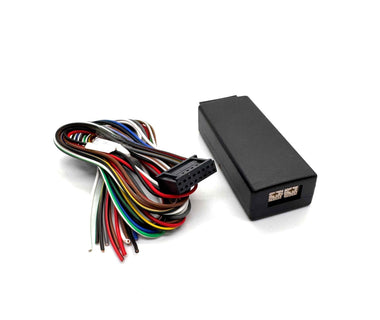
The Prado's high beam can't be picked up at the headlight, so the PB-P150 plugs in at the steering column stalk inside the cab. Fits Prado 150 MY18 on with LED headlights. Not the Prado 250. Allow about an hour.

Open the full-size guide to print or save
Download the printable guide (PDF)
Before you start
- Ignition off, key out, battery negative (–) off before you start. It goes back on last.
- Keep wiring clear of the exhaust, fan, belts and steering. Cable-tie everything.
- Not confident with 12 V wiring? An auto electrician will have it done in no time.
Fit it
- Open the driver's door and lever off the small panel on the end of the dash, next to the hinge.
- Remove the knee trim: one Phillips screw and one 10 mm bolt along its lower edge, then pull it off its clips.
- Remove the lower steering column cover: turn the wheel 90° right and remove one Phillips screw, then 90° left for the second. The upper cover stays put.
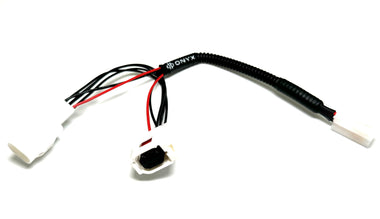
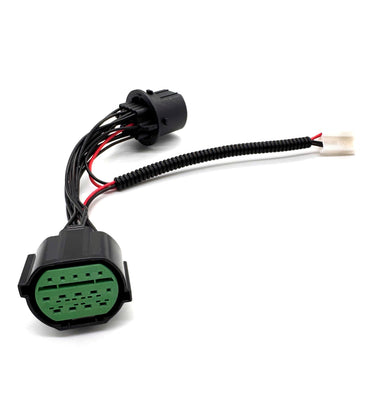
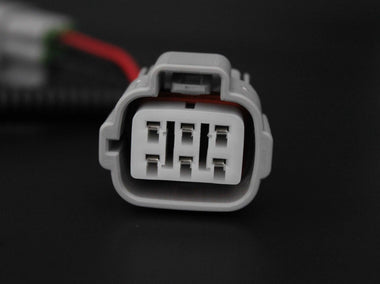
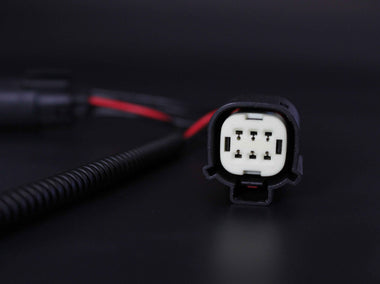
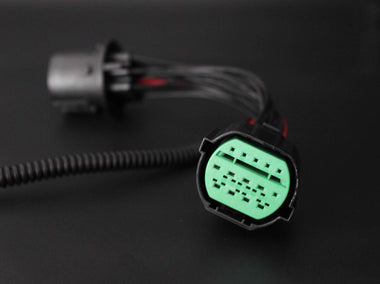
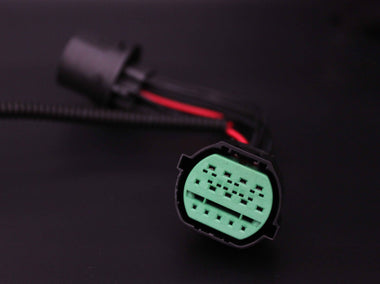
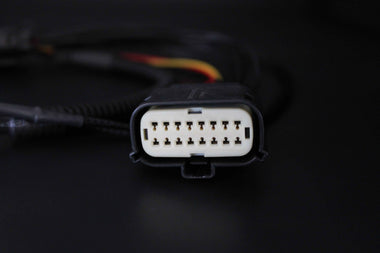
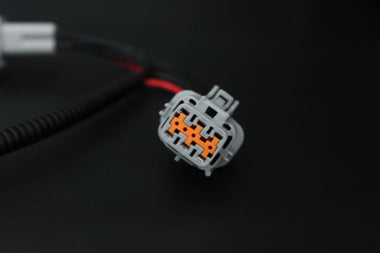
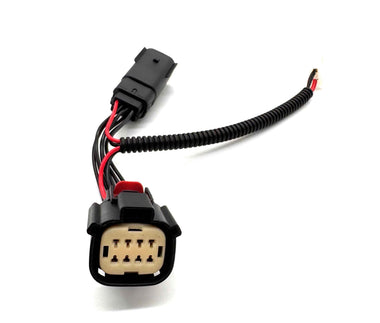
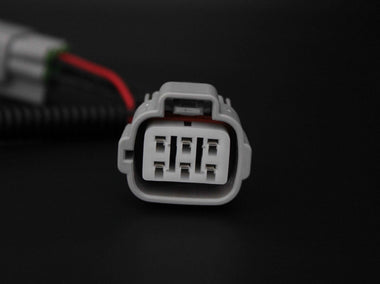
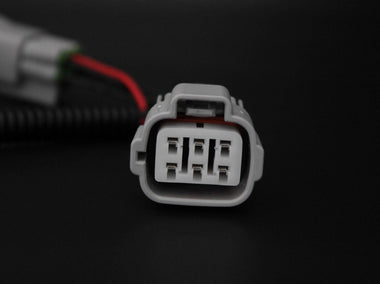
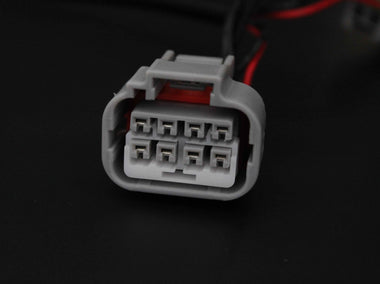
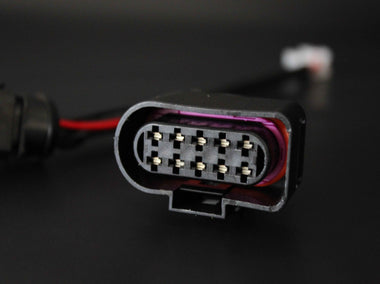
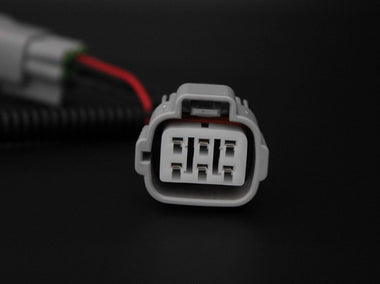
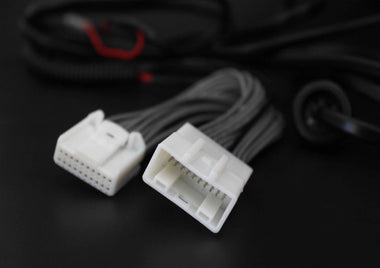
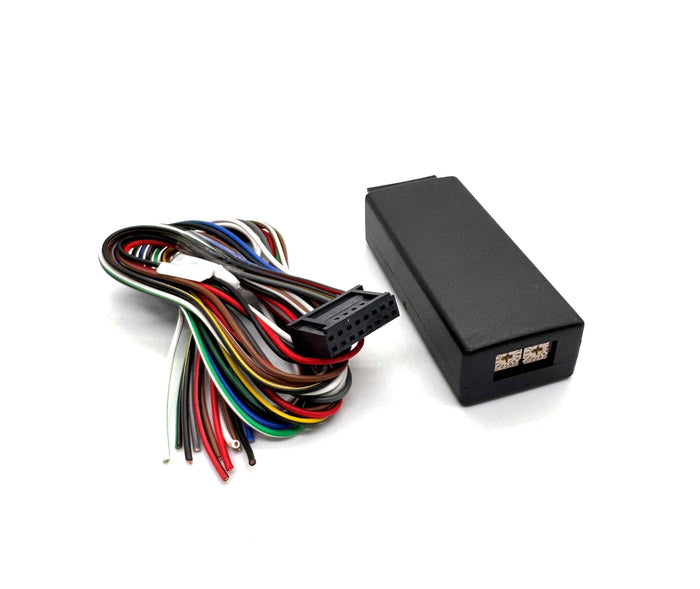
- Unplug the 20-way plug from the indicator/high beam stalk. Click the adaptor's matching plugs in between.
- Cable-tie the lead along the column. Check the wheel can tilt and telescope fully without pulling on the wires.
- Crimp the supplied tap onto the solid green wire behind the auto high beam (AHB) switch. The adaptor won't work without this.
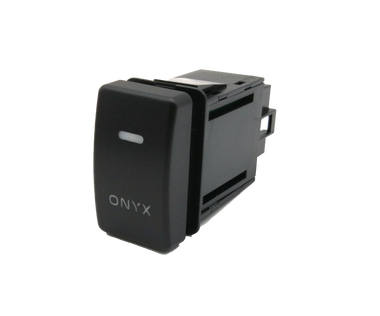
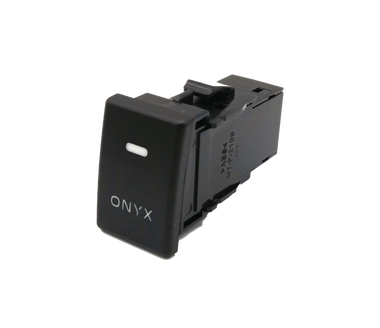
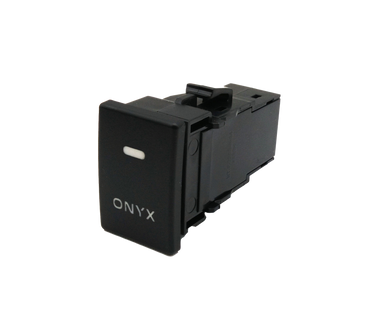
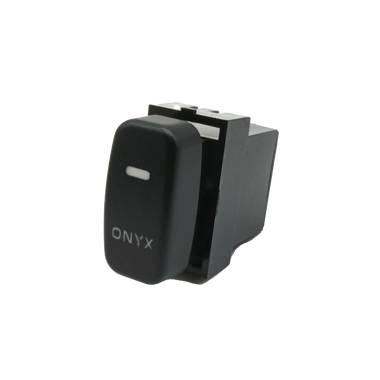
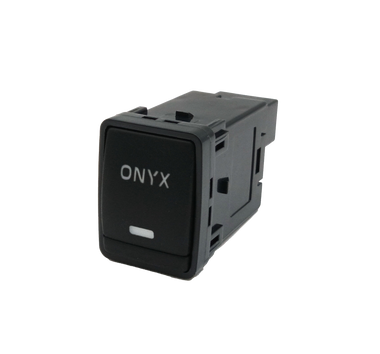
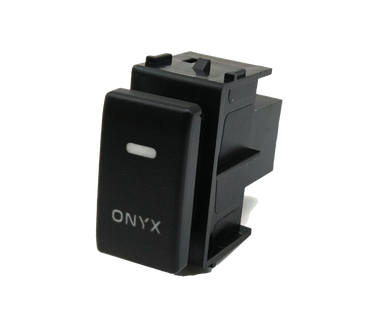
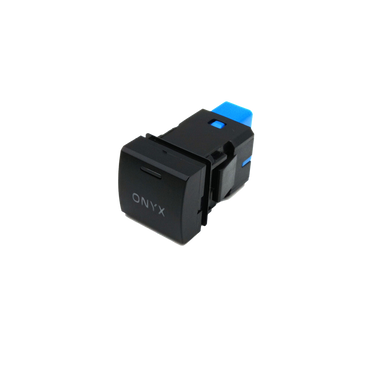
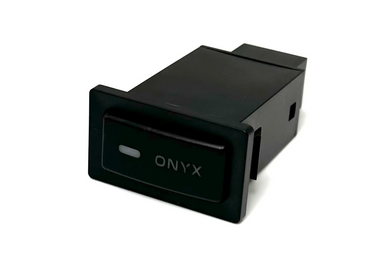
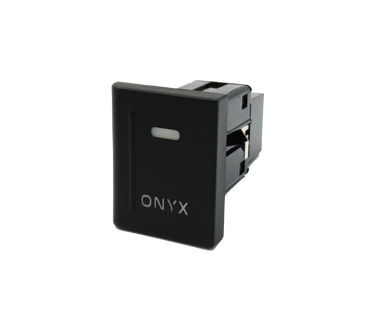
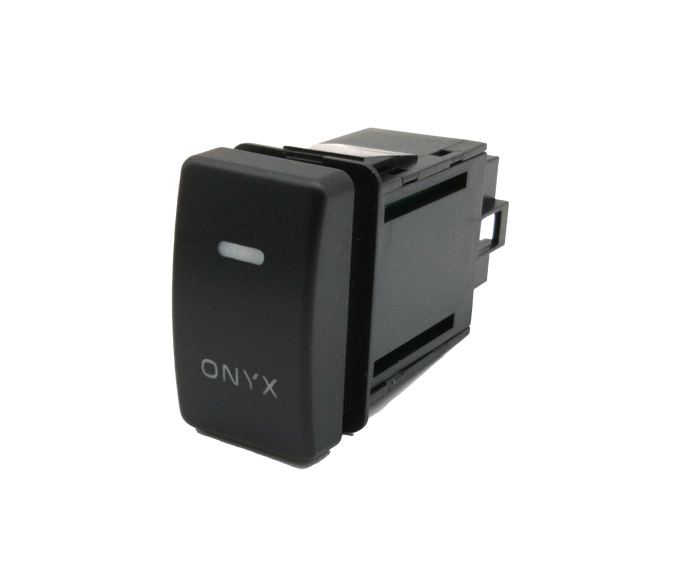
- Optional: the wire marked * can feed switch illumination. Connect it to pin 5 of the square Toyota switch.
- In the engine bay, remove the black blanking grommet on the driver's side firewall, directly behind the brake master cylinder. Push a screwdriver through the sound deadening from the engine bay so a helper can find it inside, then slit the carpet there.
- Pull the lead through, seat the supplied rubber grommet in the firewall, and tie the lead up under the dash clear of the pedals.
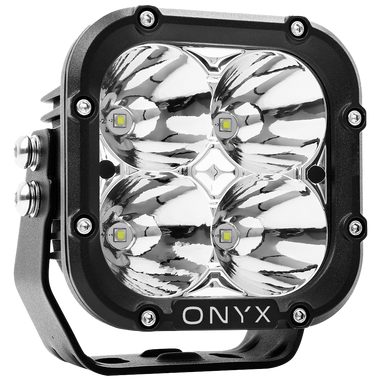
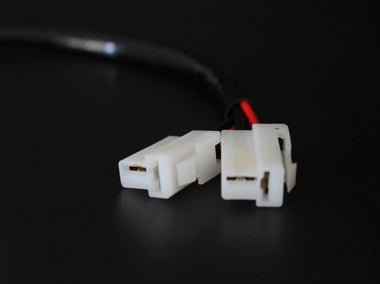
- Route the lead across the engine bay. Pin the red wire into position A and the black wire into position B of the white T-plug, then plug it into the ONYX harness.
- Refit the trims in reverse order.
- Test it: high beam with the switch on, lights on. Low beam, lights off. Your headlights work as normal.
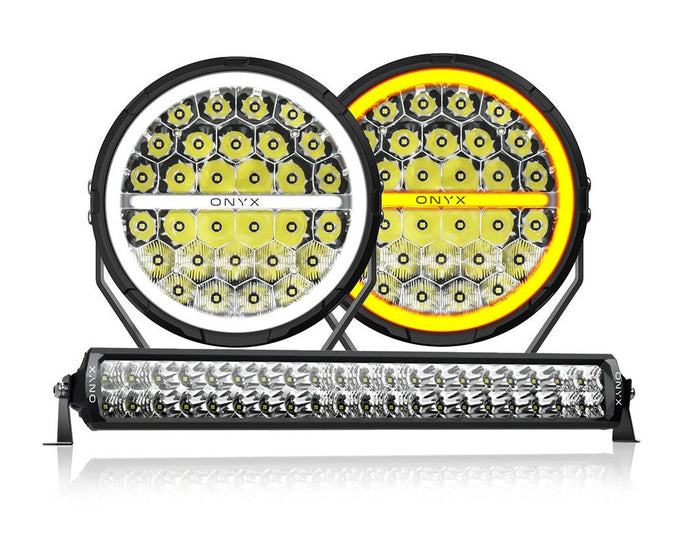
Auto high beam: like the genuine Toyota harness, your ONYX lights won't run while auto high beam or auto headlights are active. Use manual high beam.
Wiring the lights themselves? See Wiring your ONYX lights.
Not sure about a step? Call 1300 028 034 or email info@onyxlights.com.au with your rig's make, model and year.