
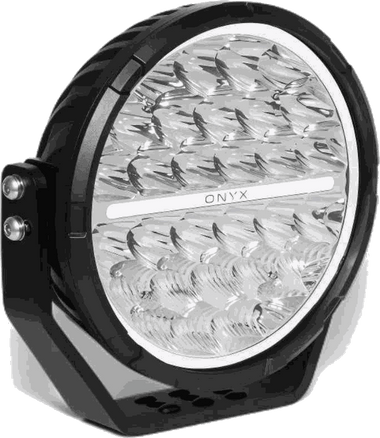
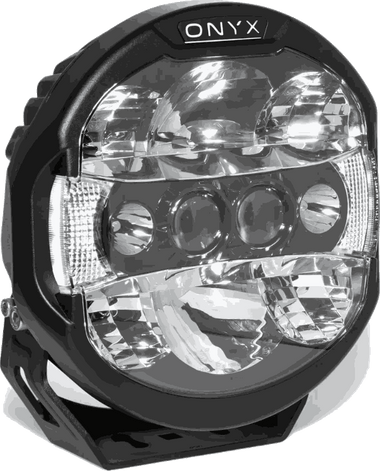
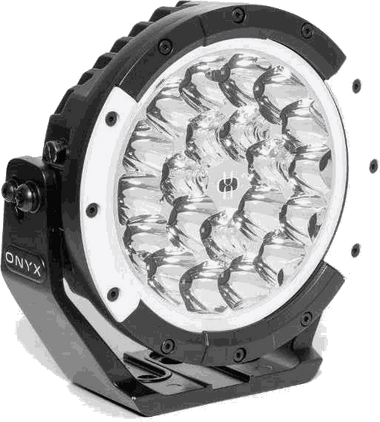
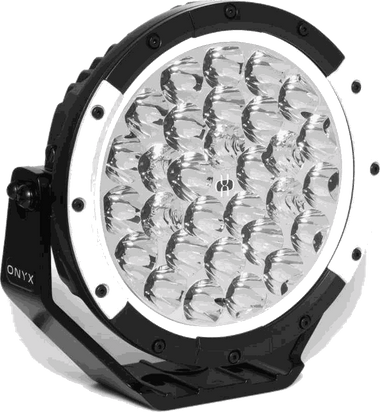
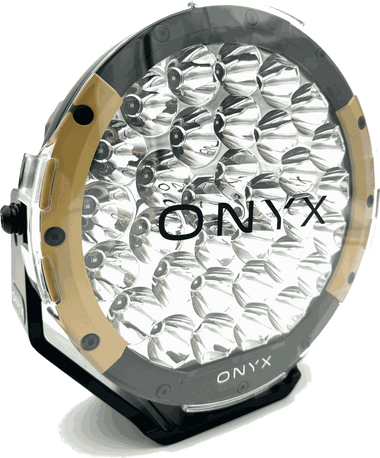
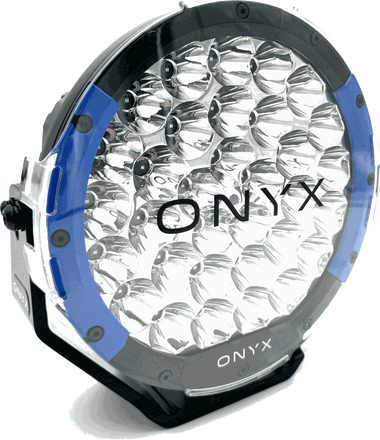
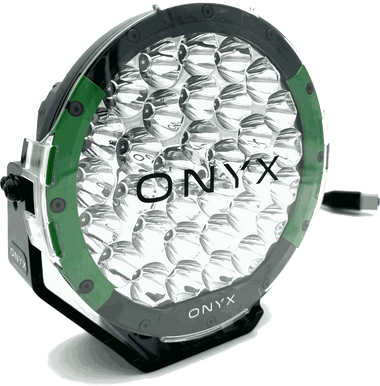
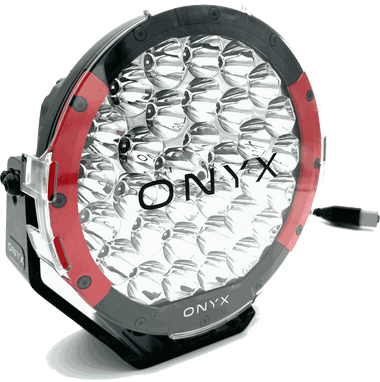
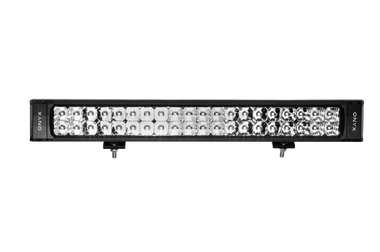

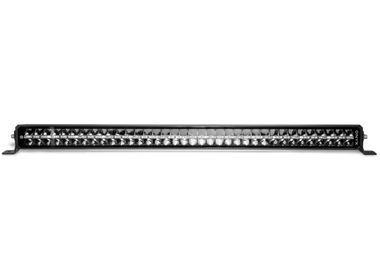

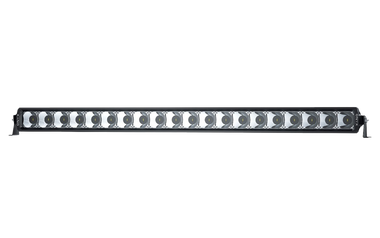
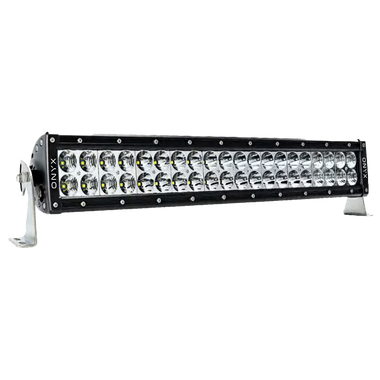
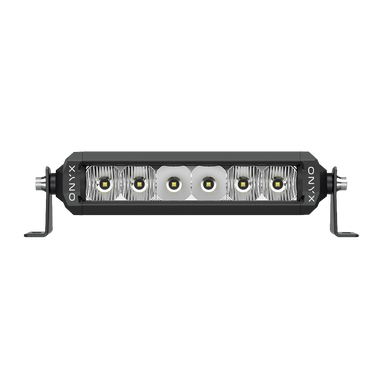
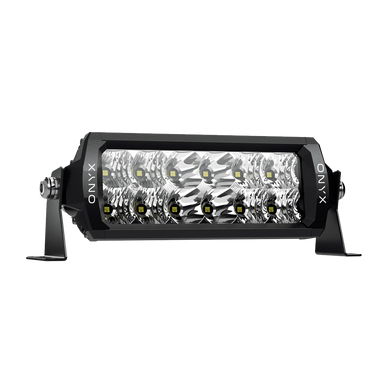
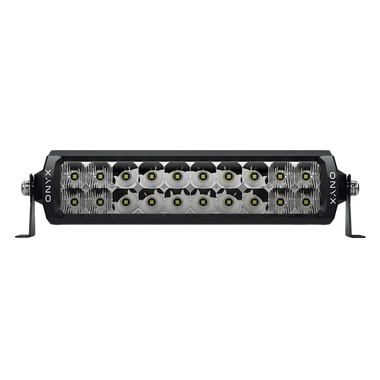
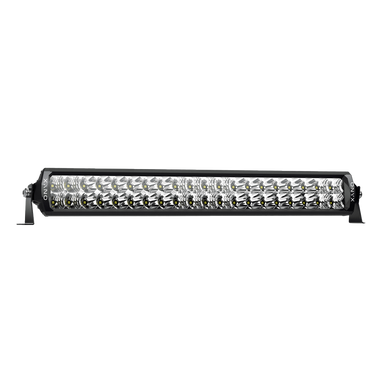
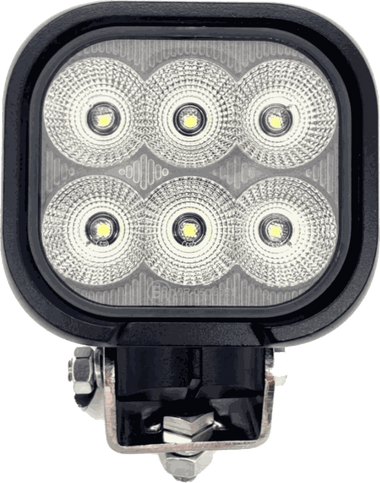
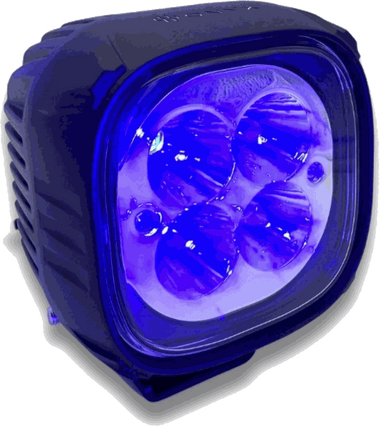
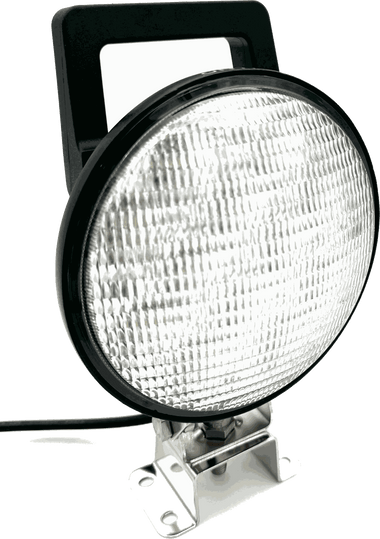
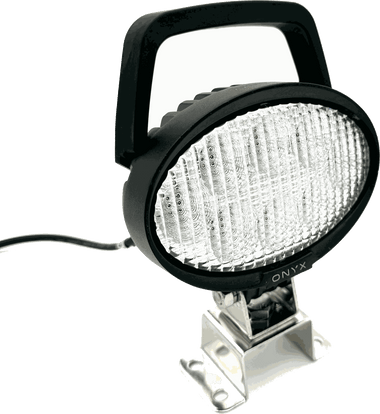
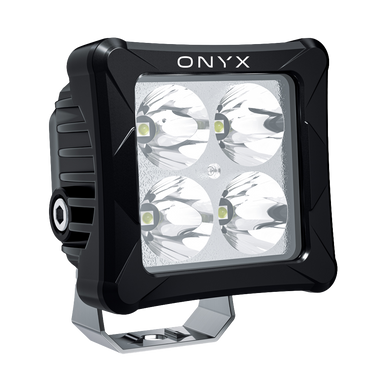
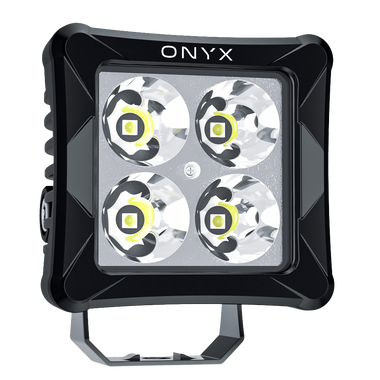





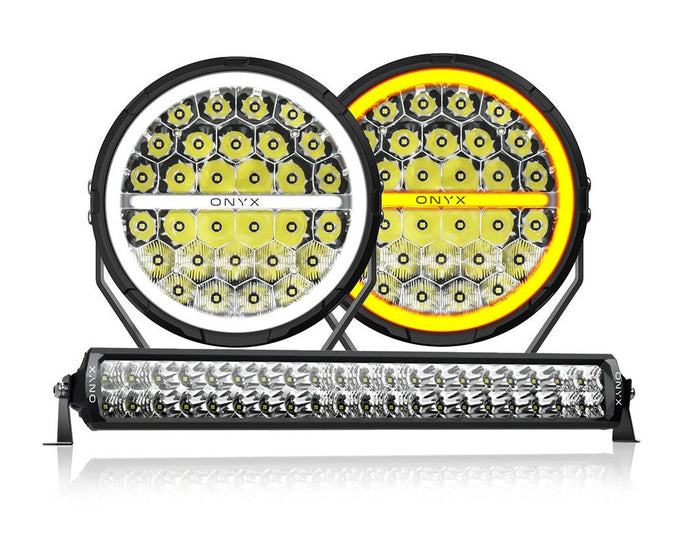
Wiring your ONYX lights
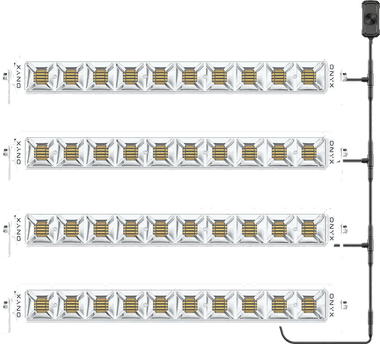
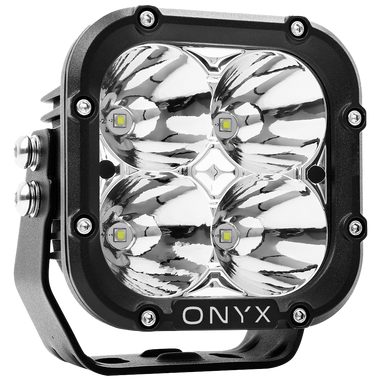
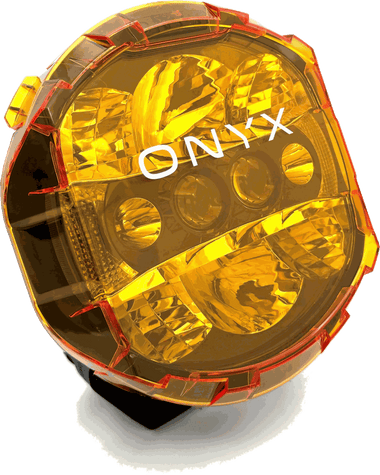
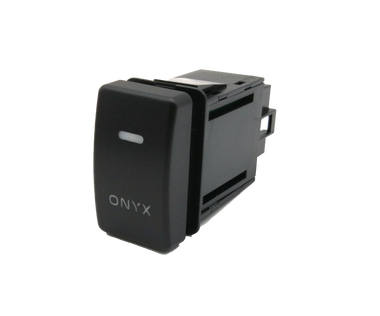
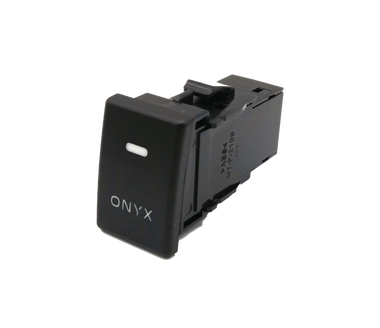
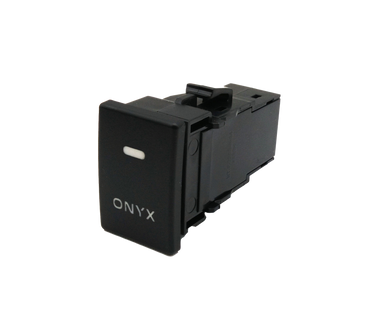
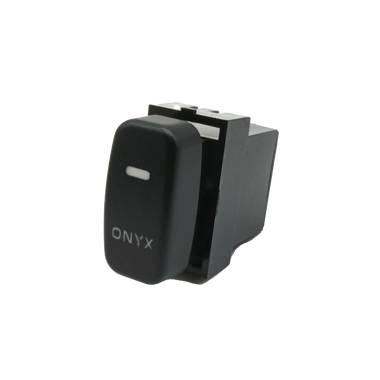
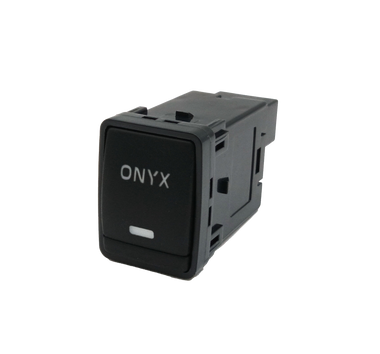
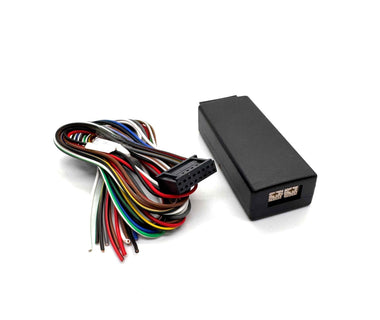
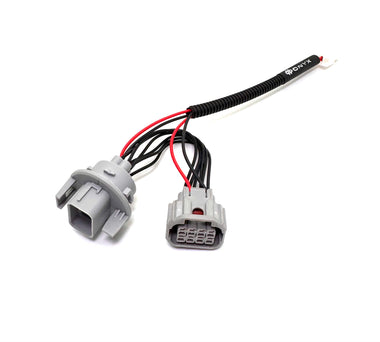
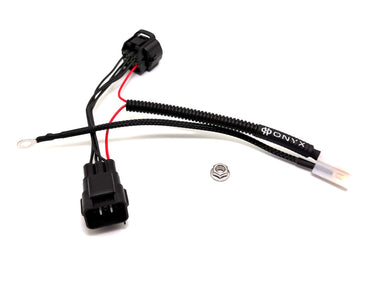
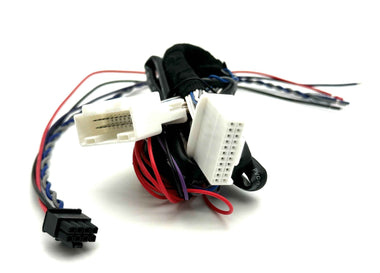
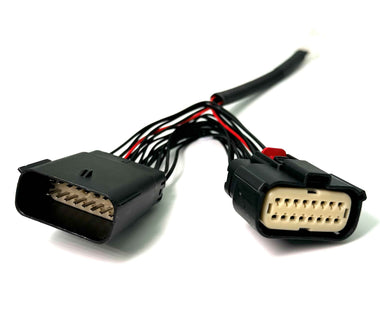
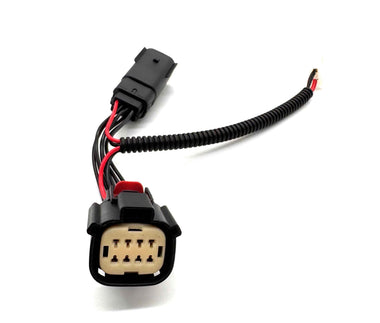
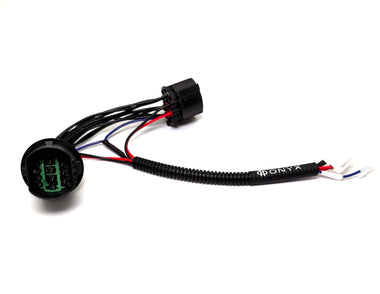
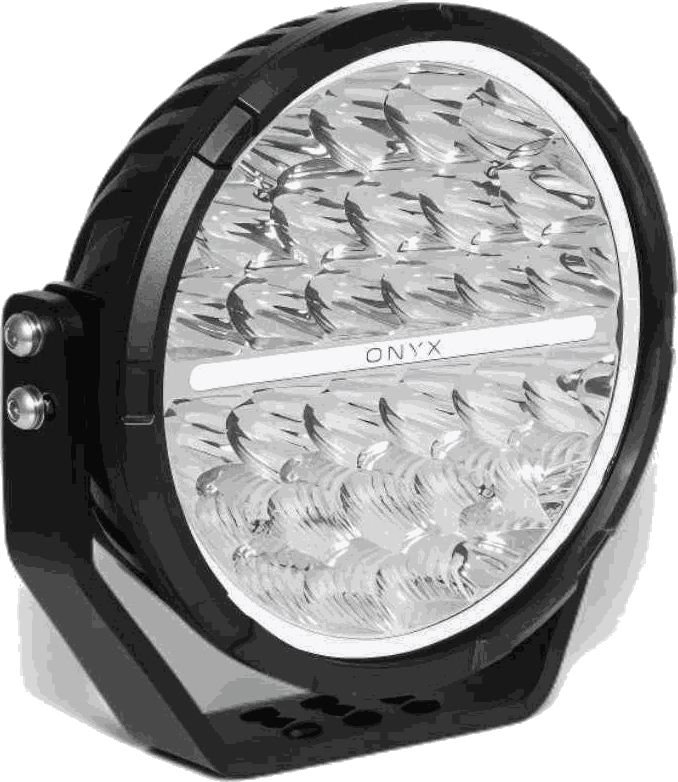
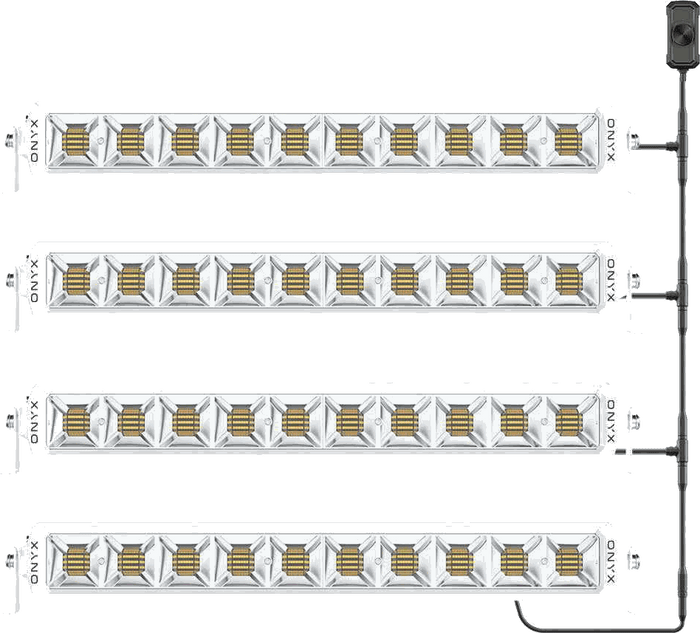
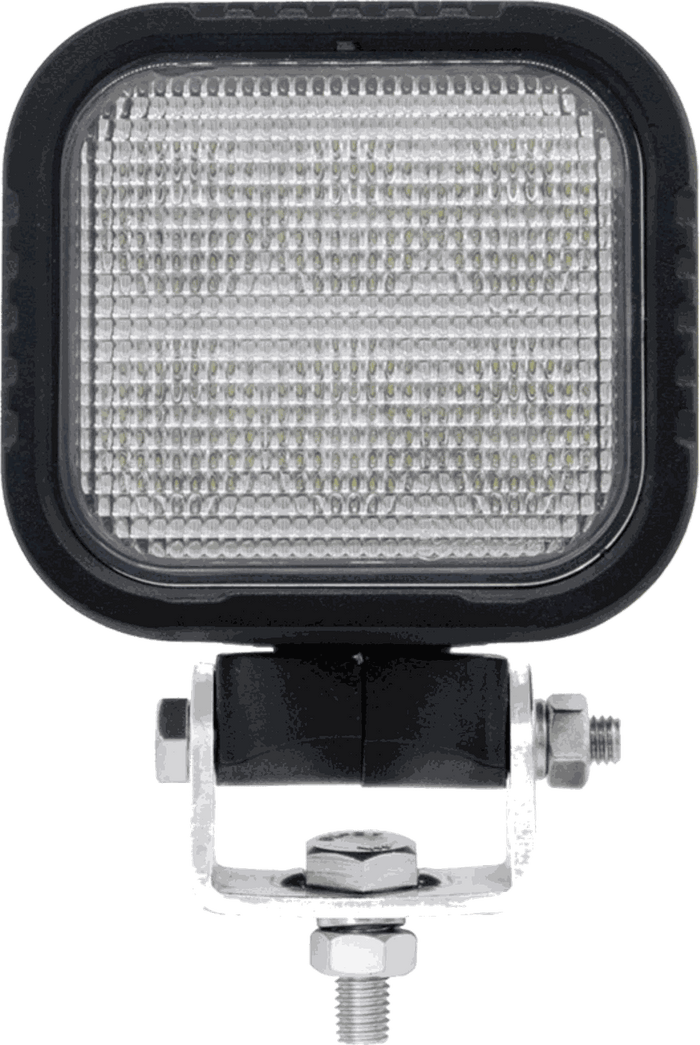
Every ONYX driving light and light bar wires in the same way: a harness with its own relay and fuse, a dash switch, and a piggyback adaptor that picks up your high beam. Closed circuit: the lights come on only with high beam and the switch on. Nothing gets cut.

Open the full-size guide to print or save
Download the printable guide (PDF)
Before you start
- Ignition off, key out, battery negative (–) off before you start. It goes back on last.
- Keep wiring clear of the exhaust, fan, belts and steering. Cable-tie everything.
- Not confident with 12 V wiring? An auto electrician will have it done in no time.
Fit it
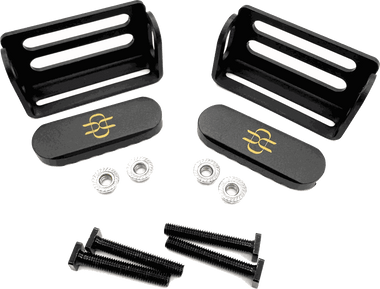
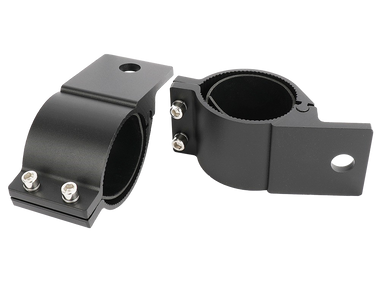
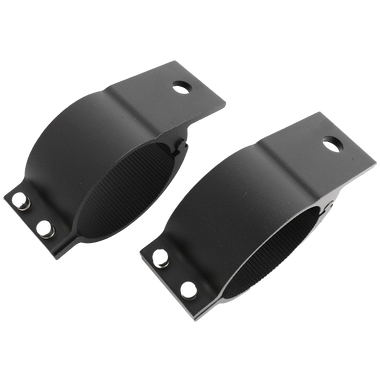
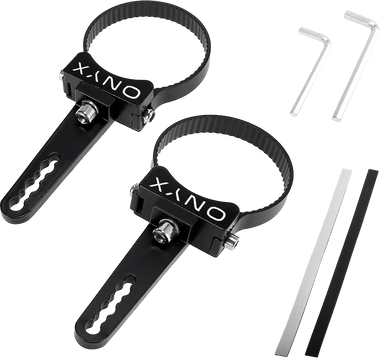
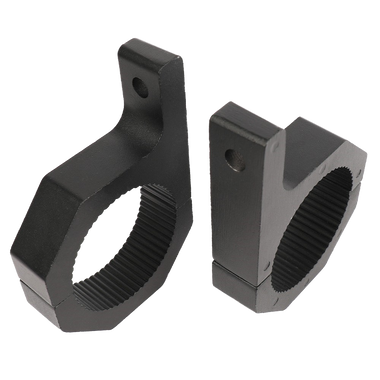
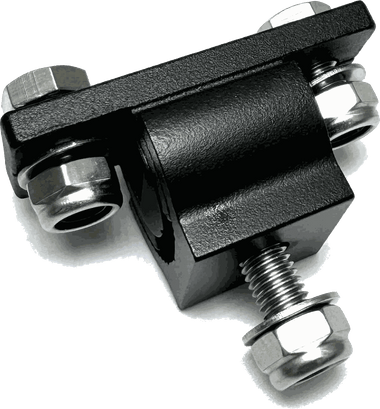
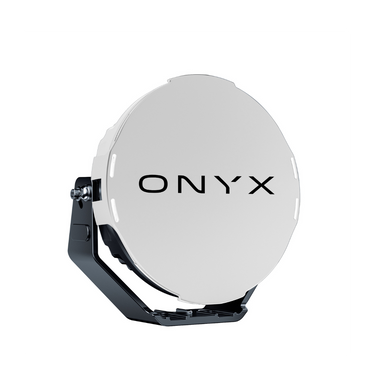
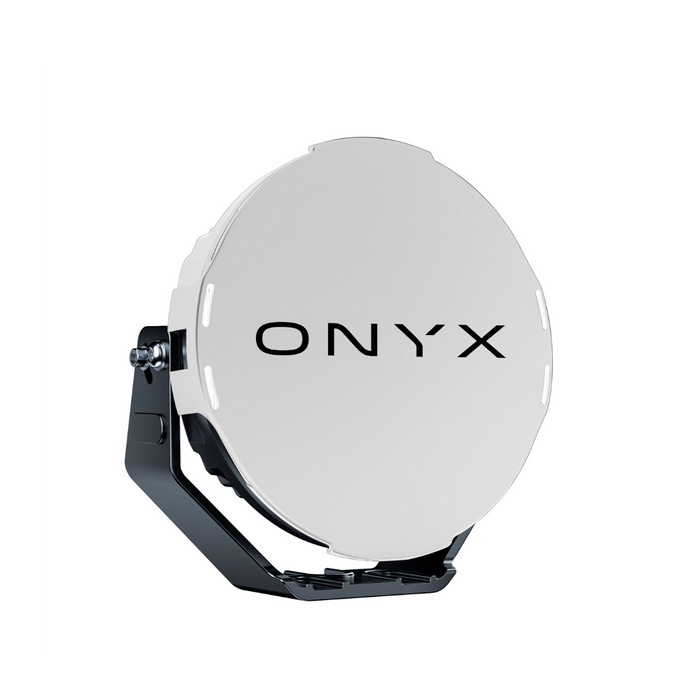
- Bolt the lights to the bullbar or brackets, roughly straight ahead. Aim comes last.
- Mount the relay near the battery, away from heat and water spray. Don't connect the battery leads yet.
- Route the harness to each light, clear of the fan and belts, and push the plugs home until they click.
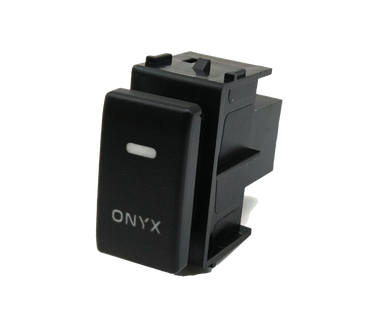
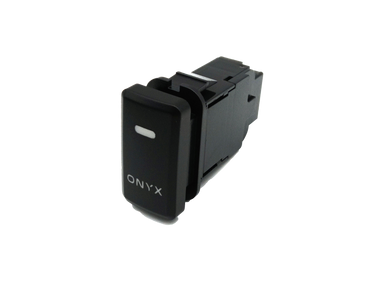
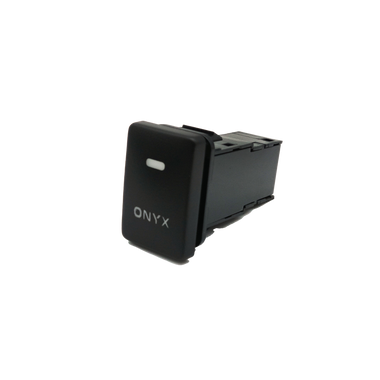
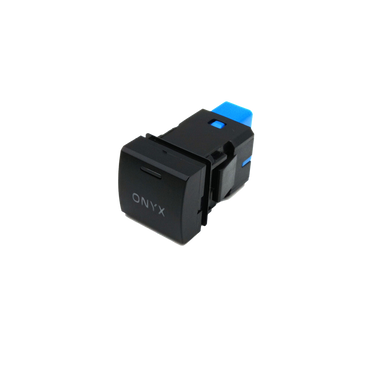
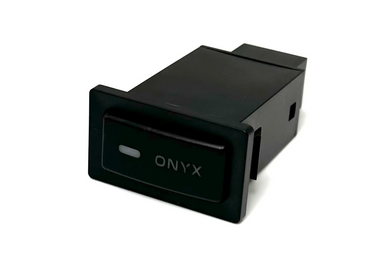
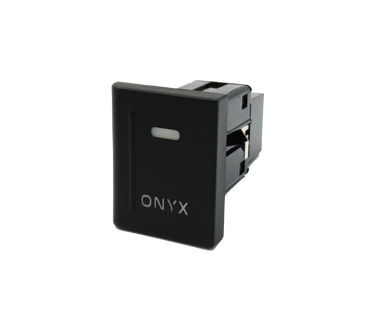
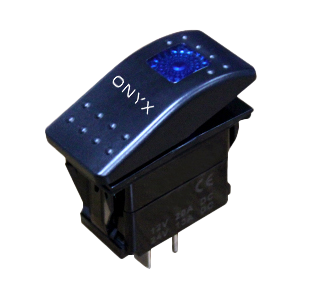
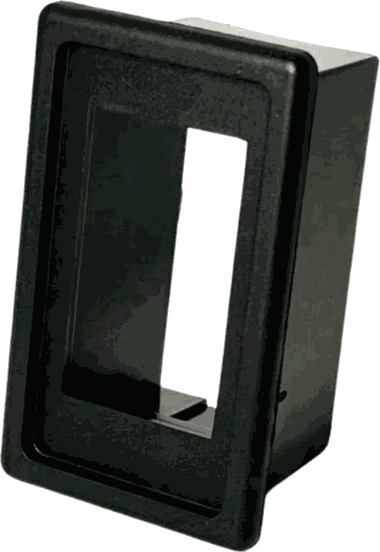
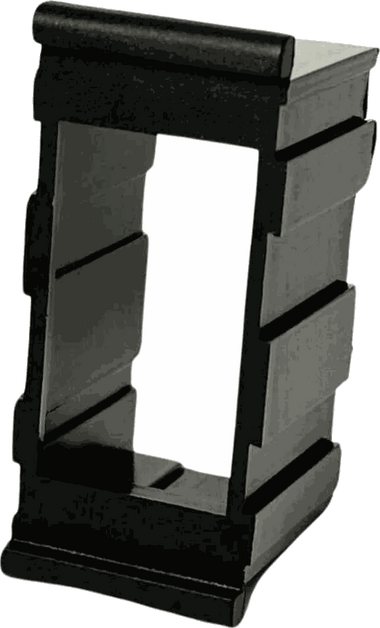
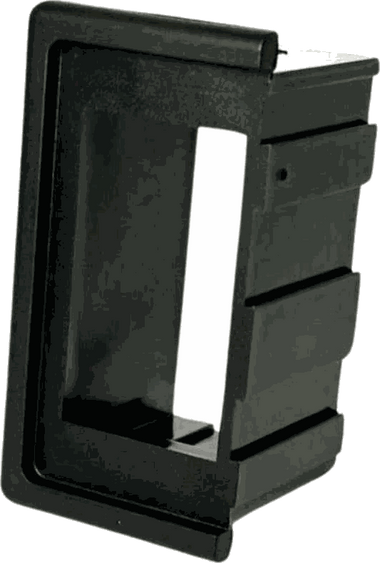
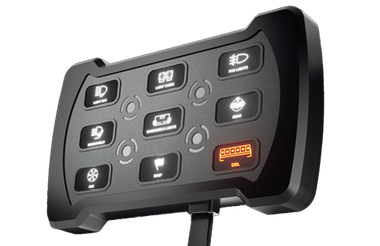
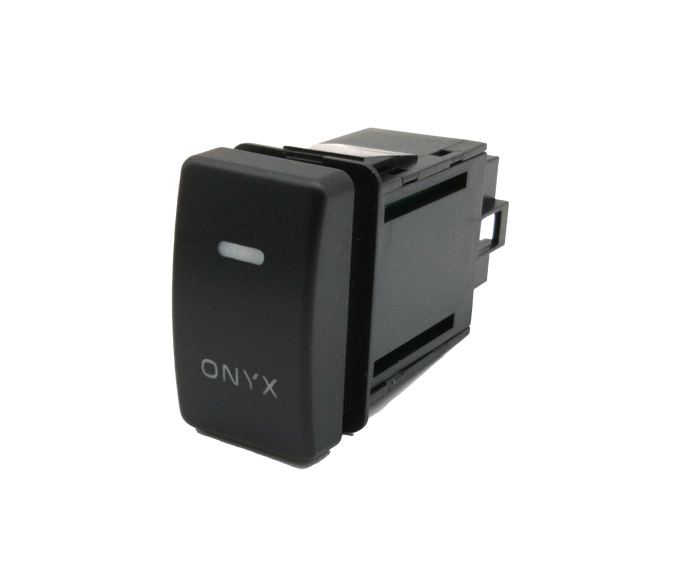
- Feed the switch through an existing firewall grommet and mount it where the driver can reach it.
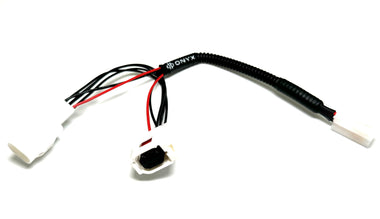
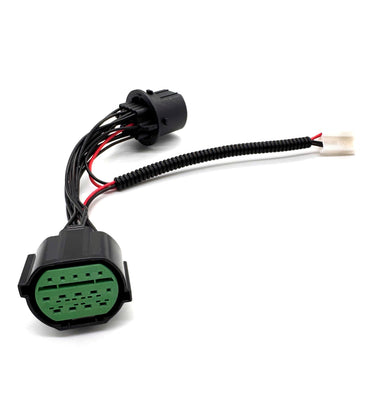
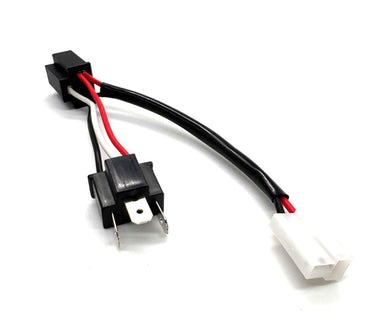
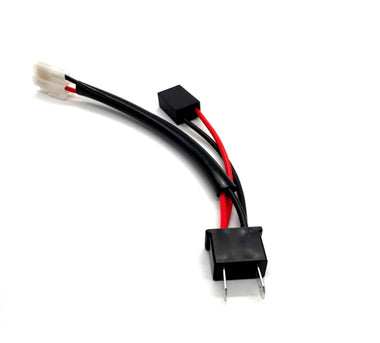
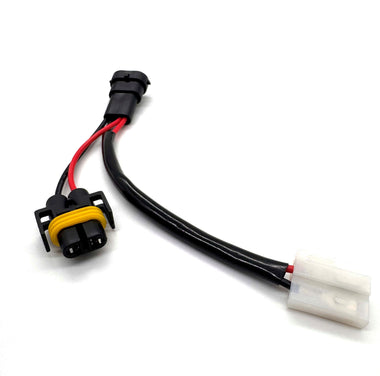
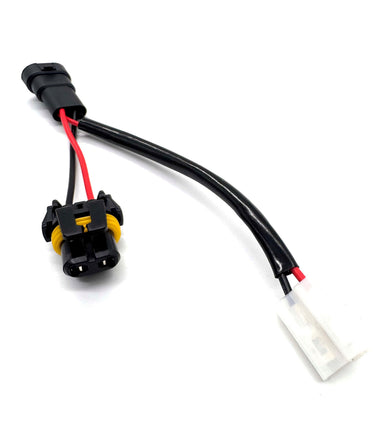
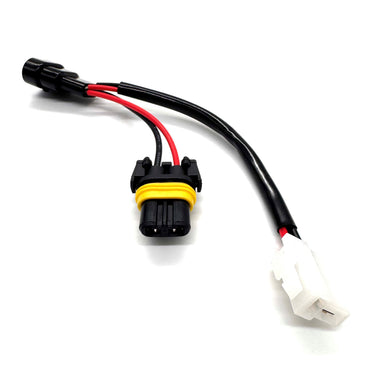
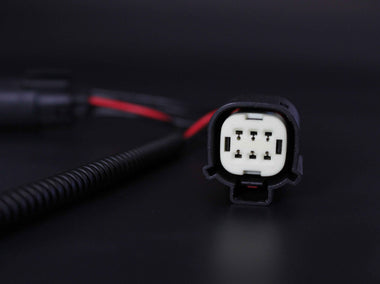
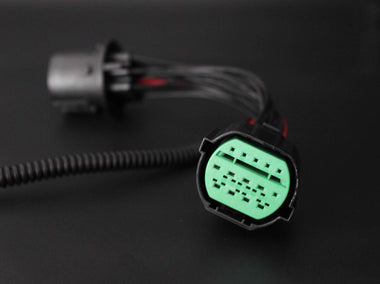
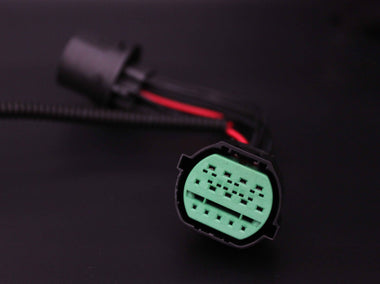
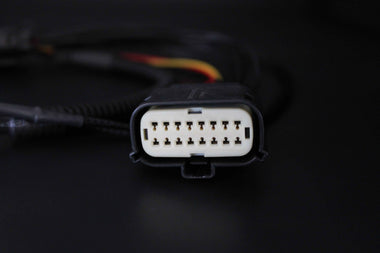
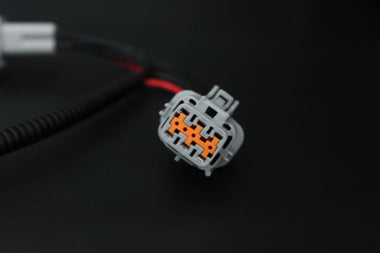
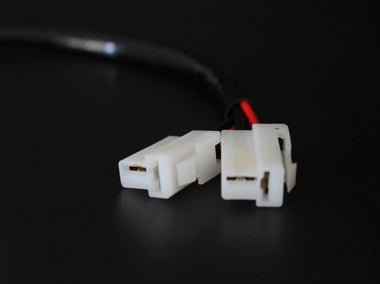
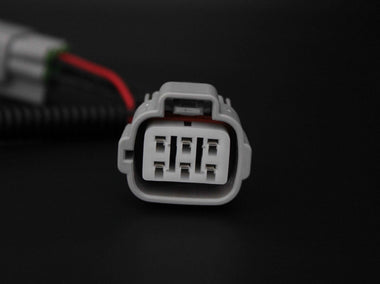
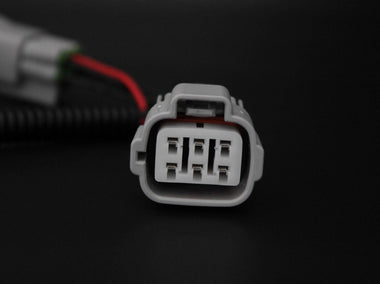
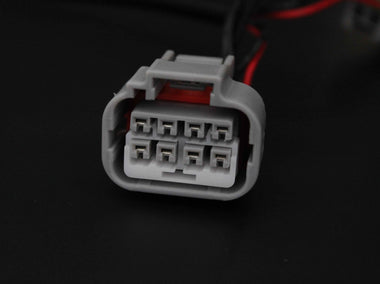
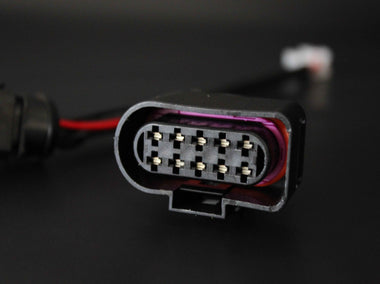
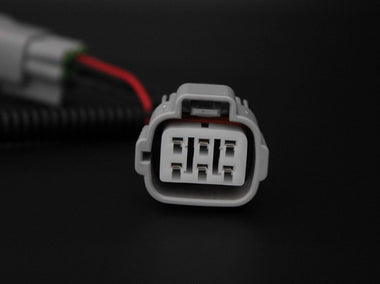
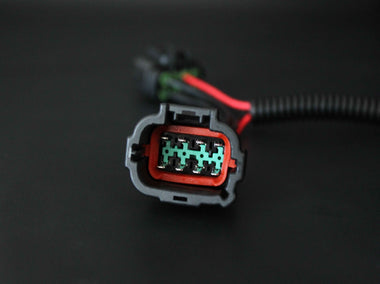
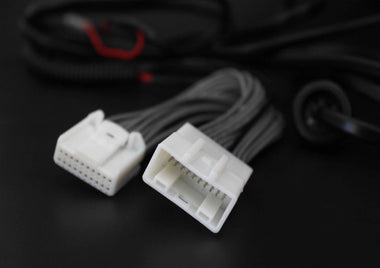
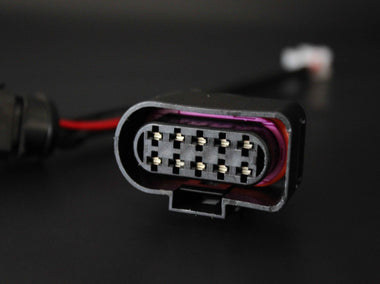
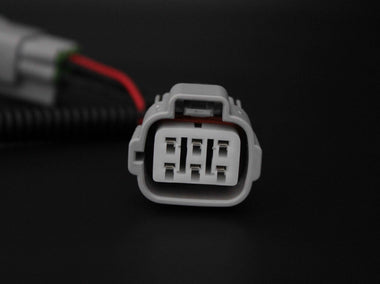
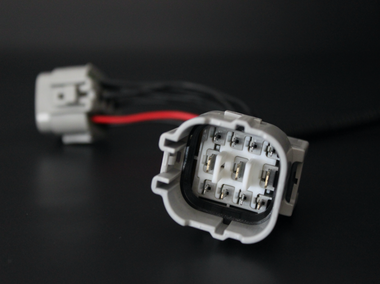
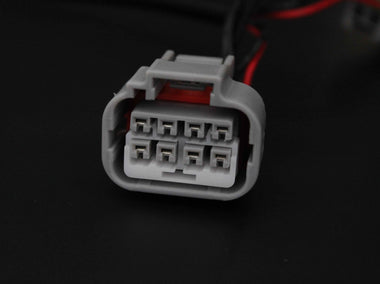
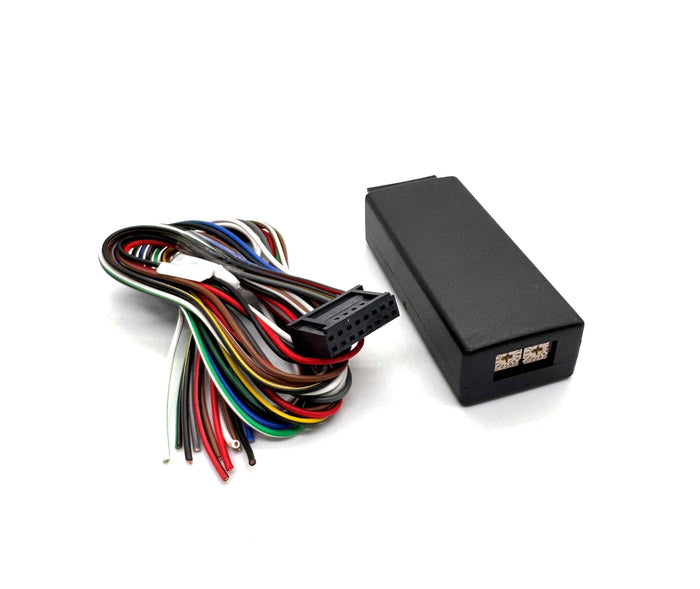
- Fit the piggyback adaptor for your rig at the headlight, then plug its white T-plug into the harness.
- Red lead to battery +, black to battery –. Refit the battery negative, then test.
Test it: high beam with the switch on, lights on. Low beam, lights off. Your headlights work as normal.
Aim: on flat ground at night, set the hot spot just below the horizon, straight down the road.
Find your adaptor: Find My Vehicle.
Not sure about a step? Call 1300 028 034 or email info@onyxlights.com.au with your rig's make, model and year.